Chapter II. Architectural Photography. Part II. General Instruction
Description
This section is from the book "Complete Self-Instructing Library Of Practical Photography", by J. B. Schriever. Also available from Amazon: Complete Self-Instructing Library Of Practical Photography.
Chapter II. Architectural Photography. Part II. General Instruction
46. Selection Of Subject For This Lesson
Selection Of Subject For This Lesson. In applying this instruction you should make a photograph of a residence, using your best judgment as to position of camera, time of day to make the view, length of exposure, etc.; basing your judgment entirely on this instruction. While a photograph of a dwelling should suggest the presence of life, it is not intended in this lesson to introduce figures into the view. Carefully remove, if possible, any objectionable feature. There must be harmony and order. The building itself is the principal feature and all accessories, such as hedges, flowers, walks, trees, etc., should be subdued. They are only a part of the general composition, and secondary to the principal, although by their aid they form a harmonious whole.
47. Proper View-Point
Proper View-Point. The first point to be considered is proper view-point. All buildings in general have more than one elevation appearing on a street and are generally designed with a view of giving more prominence to one of the sides. The photographer must place his camera so as to show this side to the best advantage. It must occupy the larger portion of the picture but not to the detriment of the side showing the lesser part, as distortion would then result and the vanishing line would become too abrupt. Never place your camera directly in front of a building, as this will give you what is known as a "one point perspective." If all vanishing lines meet at a common point in the center of the view, the horizontal lines will remain level and all effect of perspective is lost. A view taken a trifle to one side will show the true lines of the projections, trimmings of the windows, cornices, etc., and is the best point of attack. Never make a diagonal view which shows equal portions of the front and sides and by which the corners make a dividing line. This gives the building a distorted appearance.
48. Distance From Camera To The Object
Distance From Camera To The Object. Assuming that you have found the proper point of view, we will consider next the required distance from the camera to the object. Usually one can measure the distance very closely with the eye, by placing the camera in a position just far enough from your object to allow the whole building to be seen at one glance. This will come very close to being the right distance.
49. You will find that generally the proper distance from the building would be about two and a half times the height or width of the building, taking the greater dimensions as your guide. If you place your camera too near, you are not only liable to produce too large a picture of the building for the size of the plate, but sharp vanishing lines will occur, which generally cause distortion and destroy the entire character of the building. This is especially noticeable where there is a mansard roof with projecting cornice. By photographing such buildings too closely you lose the value of all the architecture above the cornice, and the details of the roof are also lost. (See Illustration No. 13, Page 40.)
50. This illustration was made with an ordinary hand camera without a swing-back attachment, and you will notice that owing to the camera being placed too near the object, the building is very much distorted and the lines of the roof are much fore-shortened. The beautiful architecture of the roof is entirely lost. This same building viewed from the proper distance would give one an entirely different view, and more clearly reproduce the work of the architect.
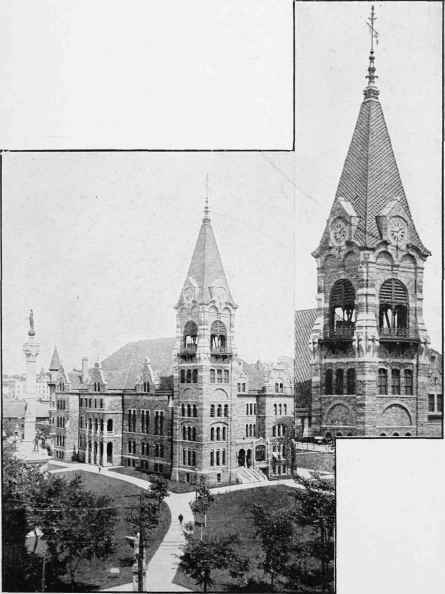
Illustration No. 12 See Paragraph No. 45.
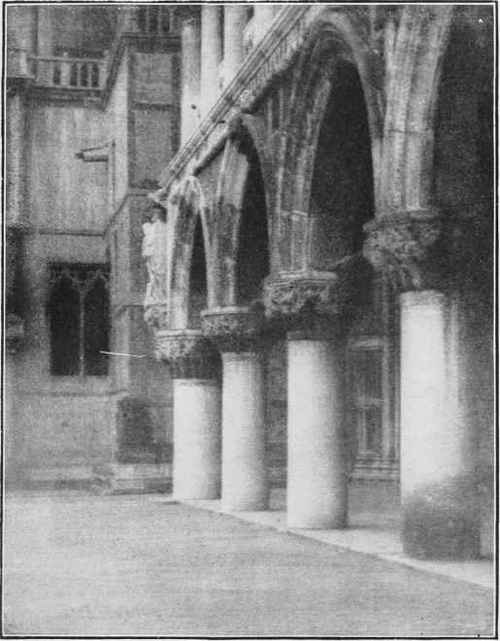
A CORNER IN THE PIAZETTI, VENICE Study No. 7 - See Page 307 By Wm. H. Phillips.
Continue to:
My Books

