Toy Barn For The Young Farmer
Description
This section is from the book "Boy's Fun Book Of Things To Make And Do", by Grosset & Dunlap Publishers. Also see: The Pocket Dangerous Book for Boys: Things to Do.
Toy Barn For The Young Farmer
SCRAP pieces of 1/4" plywood or solid stock will serve for this toy barn, its accessories, and iivestock, and will make a welcome Christmas toy. All joints should be nailed and glued so they will stand the rough usage children usually give their playthings.
The removable left side of the barn may be taken out altogether or slid up into the roof to be held by blocks nailed inside the front and back. Normally it is set in catch blocks nailed to the floor at the two ends. Strips of roofing material lapped over each other give the realistic shingle effect to the barn shown. A haymow may be installed by adding a board under the roof over the stall section. The doors open on hinges or on slides, but the windows are merely painted in, though they may be cut out if you wish-All animals are of three thicknesses. Lay them out on squares on one piece and nail this to two others, putting the nails through scrap material, so the three parts may be sawed at one time. Then saw the legs off the middle section and the head and tail off the sidepieces. Cord may be used for tails where suitable. After the pieces have been painted and dried, add features with India ink.
TAKE the case of soap. It sounds so ordinary, and all it reminds you of is something to wash with-and there's no fun in that. But soap is one of those things that surprise you. With a little bit of patience, a steady hand and a paring knife you can change the lowly cake of soap into any number of attractive objects. You'll find it a soft, easy material for sculpture, and heaps of fun to work with.
The best soap for carving is a white kind, with a fine, even texture that will allow you to carve the most delicate details without fear of coming upon a layer that is too hard or too soft. The color and texture of this soap lend themselves to water color and poster paint.
Before you attempt to carve the figures shown here, be sure you use a fresh bar of soap, as it will be much easier to work with. Scrape the soap from the top and bottom of the cake, where the trade names are. You can do this easily by carefully bracing the thumb against the soap and slicing thinly, slowly and carefully toward you. Remove only enough soap to reveal a smooth, even surface. Allow the soap to dry for about an hour before applying the pattern.
Tracing the pattern is a simple step. Merely blacken a sheet of paper by rubbing with a soft pencil. Place this, penciled side down, on the soap. Put the pattern over this and trace with a pencil to obtain an image on the soap. After removing the pattern, it is usually a good idea to score the outline further with an orange stick or sharp pencil.
Now that the outline is clearly marked, the next step is cutting away the unwanted soap. By holding your knife straight up and down and using the scored lines as a guide, you can cut through the entire thickness of the cake, so that the pattern will be identi-
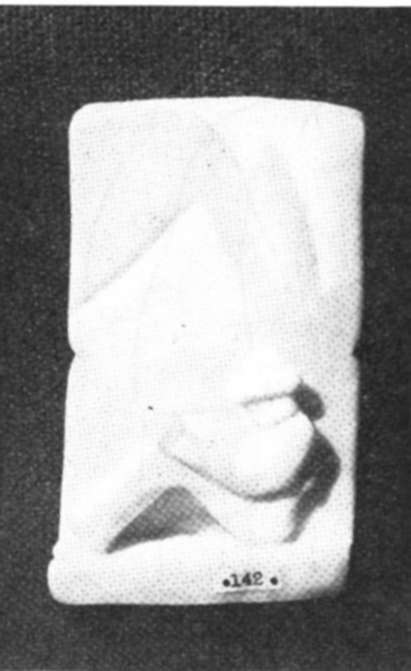
Photo by Arthur S. Siegel.
The above carving, called "The Sleeping Mexican," won honorable mention in the Junior Class in the annual competition for small sculptures in white soap cal on both the top and bottom of the cake of soap. Allow a 1/4-inch margin when you do this.
In cutting and rounding away more of the soap, do so gradually, turning the carving around frequently so as to see it from all angles.
When the model is finished, allow it to dry for a day or two before polishing. At that time, rub carefully all over with a paper napkin, proceeding cautiously, so that projections or corners are not broken off. Next rub gently with the finger tips or the palm of the hand. You'll be pleased with the result, and remember, this is only the beginning of all the wonderful things you can make out of an ordinary cake of soap.
Continue to:
My Books

