XX. Patching
Description
This section is from the "Home And School Sewing" book, by Frances Patton. Also available from Amazon: Home And School Sewing.
XX. Patching
Patching is the art of restoring the worn parts of any garment by inserting better material.
Good patching depends largely on a thorough understanding of the rules and methods of making the garment. This is especially true in repairing all articles of clothing.
Matching the Patch in Color and Fabric.
Care must be taken to see that the patch agrees with the original fabric in color and quality; consequently new material in many cases had better be avoided, and material partly worn substituted.
Materials invariably lose something of their original brightness of color and tint during wear, so that attention to these small details will amply repay the worker, as one of the primary principles of good patching is that the repair, when completed, shall be as little noticed as possible.
Patching Figured and Striped Materials.
In patching striped or figured materials, match the pattern so that, when finished, the continuity of the design is unbroken.
The warp of both garment and patch must run in the same direction. In patching, as far as possible, attach the patch to some seam. Sometimes it is possible to join all sides in this way, making the work not only stronger, but much neater.
An invisible patch is valuable in more places than on a shoe.
Patches of Different Shapes.
Different shaped patches are frequently used; such as circular, oblong, triangular, half-moon, etc. A half-moon patch is a most excellent shape to use in any case where the edge can be attached to a seam, especially where the strain is very great, as at elbows, knees of boys' trousers, etc.
The size of the patch depends not only on the size of the hole, but also on the condition of the garment around the hole. All patches should be carefully pressed.
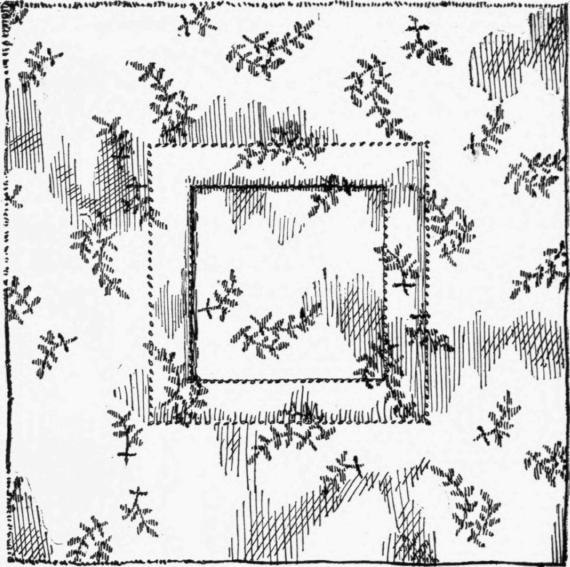
Materials. - The materials required for a lesson in patching are: A practice piece, with a hole cut by the
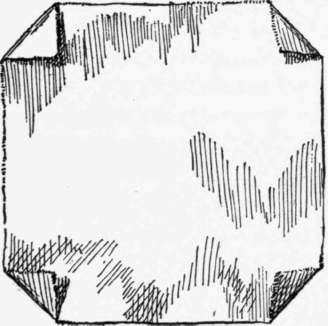
ILL. 69. - Method of Turning Corners of the Patch.
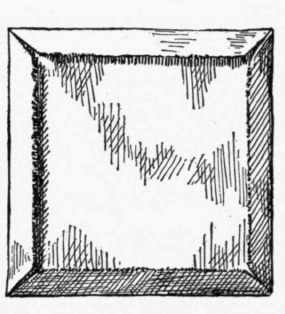
ILL. 70. - Sides and Corners of the Patch Turned.
teacher previous to the lesson; a patch four inches square; cotton; scissors; a ruler or tape measure; "ground downs" or "between" needles.
1. Hold up the patch with the right side towards you.
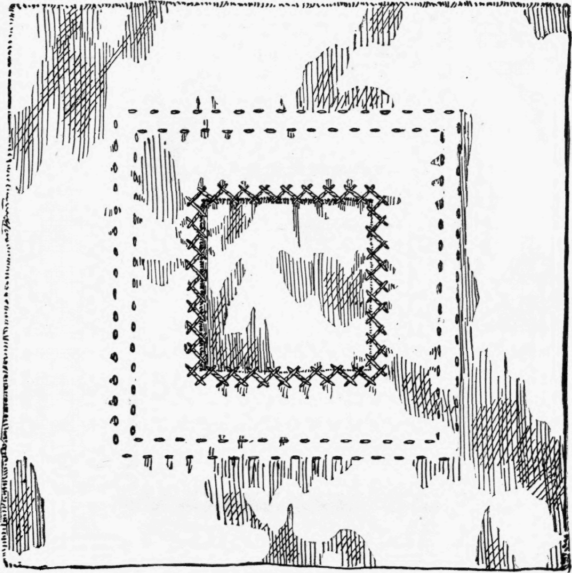
2. Turn the corners down one-fourth of an inch on the right side. See Illustration No. 69.
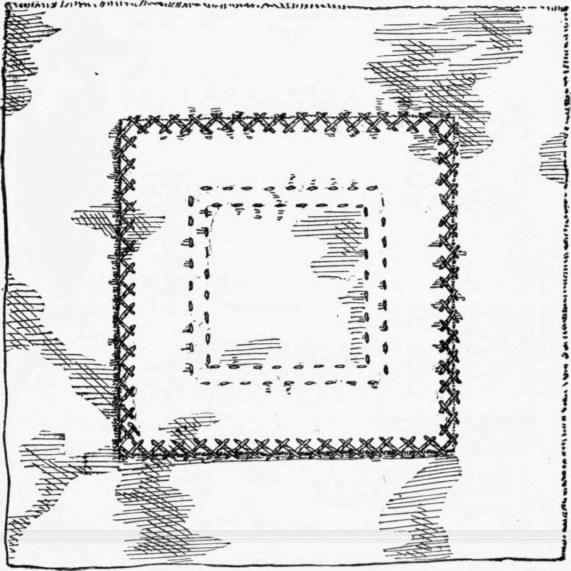
3. Next turn down the sides one-fourth of an inch. See Illustration No. 70.
4. Hold it up when finished with the turns towards the teacher.
5. Place the practice piece or garment on the desk with the wrong side up.
(Find the centre of the "patch by folding it on its diameters.)
6. Place the right side of the patch on the wrong side of the garment or practice piece.
7. See that the centre of the patch is over the centre of the hole, with the warp of the two pieces parallel.
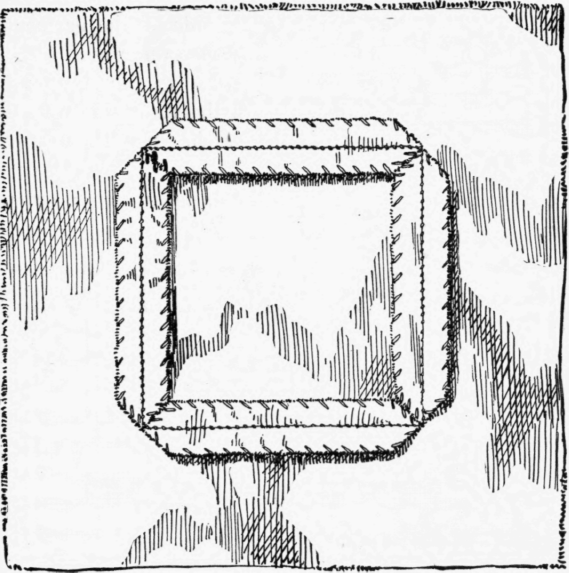
8. Baste close to the edge with even basting. See Illustration No. 71.
Begin to baste in the centre of one side.
9. Begin to hem in the same place. (By so doing the square appearance of the corners is preserved.)
10. Be careful to hold the patch in the correct position while hemming it. (The patch, which represents the fold of the hem, must turn towards the point of the finger.)
11. Turn the material over, with the right side up.
12. Measure on the right side three-fourths of an inch from the sewing of the hem.
13. Draw a square on its sides. (Use a lead pencil.)
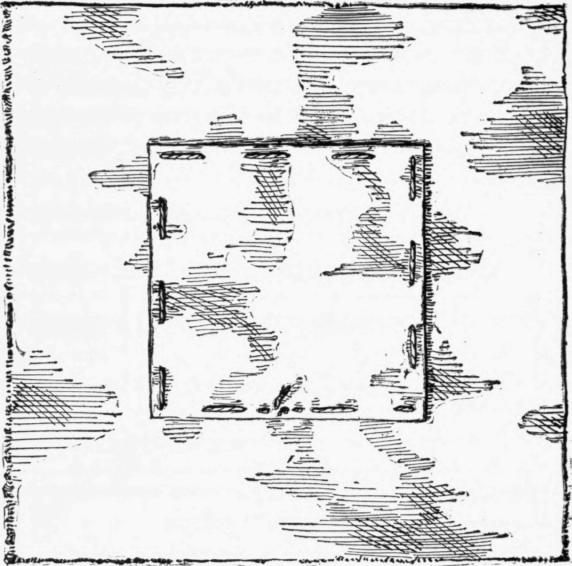
ILL. 71. - First Basting of the Patch.
14. Cut out the material on the lines drawn. In this way you get rid of the worn material around the hole.
15. Make a diagonal cut at each corner.
16. Turn the edges under with the needle, keeping the corners perfectly neat and square.
17. Baste the edge of the turns with even basting. See Illustration No. 72.
18. Hem the garment down on the patch (beginning to hem in the centre of one side).
19. Take out all basting stitches.
20. Press the patch carefully on the wrong side.
Another Way of Patching.
1. Cut out all worn material around the hole.
2. Make a diagonal cut at each corner one-fourth of an inch.
3. Turn the edges down as far as the diagonal cut at each corner will permit.
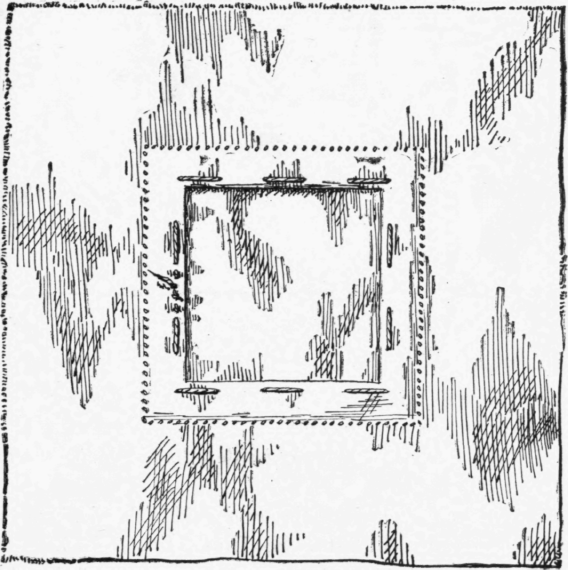
1LL. 72. - Patch Basted Ready for Second Hemming.
ILL. 73. - Calico Patch Properly Matched.
4. Turn down the patch as before.
5. Baste the right side of the patch to the wrong side of the garment (centre to centre).
6. Hem it first on the right side (that is, hem the garment to the patch).
7. Turn and hem it on the wrong side (that is, hem the patch to the garment last). See Illustration No. 73.
Note. - This method is preferred by many persons, especially in matching figured or striped materials.
Mistakes Likely to Occur in Patching.
1. Size of patch, either too small or too large.
2. Warp of patch and garment not running parallel with each other.
3. Patch held upside down while hemming.
4. Corners not true and drawn in sewing.
ILL. 74. - Catch-Stitched Patch, Right Side.
Catch - Stitched Patch.
This method is used in patching garments made of flannel or cloth. The fact that, owing to the thickness of the materials, the edges need not be turned, makes this in many respects the easiest of all patches.
The catch-stitch should be taken through the patch and material together on one side only, because, for the sake of protection, the stitch is carried over the raw edges, and the
ILL. 75. - Catch - Stitched Patch, Wrong Side.
ILL. 76. - The Wrong Side, of an Overseamed Patch with the Edges Overcast.
second side of the stitch is taken merely through the single flannel of the garment.
Materials. - The materials required are: Cloth or flannel representing a garment; a patch to match four inches square; "between" needles; silk or cotton, according to material; scissors; ruler or tape measure.
1. Cut out all worn material around the hole.
2. The piece intended for the patch must be three-fourths of an inch larger than the hole when thus prepared.
3. Tack the patch to the wrong side of the garment, with nap of the two pieces running the same way.
4. See that they agree with regard to warp and woof.
5. Turn the material over with the right side up and catch-stitch the garment to the patch. See Illustration No. 74.
6. Catch-stitch the patch to the garment on the wrong side. See Illustration No. 75.
Note. - A patch may be either overseamed or hackstitched into a garment. When made in this way, the edges should be opened and pressed on the wrong side. The edges may be finished by overcasting or buttonholing. See Illustration No. 76.
Continue to:
My Books

