Hemmed Or Set-On Patch
Description
This section is from the book "School Sewing Based On Home Problems", by Ida Robinson Burton, Myron G. Burton. Also available from Amazon: School Sewing Based On Home Problems.
Hemmed Or Set-On Patch
Paragraph 149. A hemmed, or set-on, patch consists of a piece of material (with the raw edges turned under on all sides) sewed over a hole in another piece of material. Before beginning to mend the hole, trim away all the worn material around it, preferably along the warp and woof threads of the material. If the material is un-figured it is sometimes desirable to make the patch circular (as in a corset cover) or triangular if the hole is three-cornered. If the hole is longer than it is wide the patch should be made oblong; a three-cornered tear on figured material can be mended more neatly with a square patch than with a triangular one as it is usually difficult to match figures along a diagonal. To make a patch show as little as possible, it is necessary to match the figures in it very carefully with the figures in the garment. If possible, select for the patch a piece of material that has been worn as much as the garment, because a new patch set into a worn garment shows plainly. A new piece of material may be washed and hung in the sun to fade if there are no worn pieces on hand.

Figure 54.
Figure 54 shows a hole torn in a piece of cloth as it might be snagged in a garment; Fig-ure 55 shows the torn portion cut away to a strong place in the material. The opening in this case is cut about square; Figure 56 shows the completed patch in which you will notice the checks in the patch exactly match the checks in the material.
To set-on such a patch, first cut away the frayed edges, then make a small diagonal cut into each corner of the open square and turn back the edges about 1/4" all the way round (turning the material on the thread). Be sure that no raw edges are left at any of the corners. Place the right side of the patch on the under side of the opening, seeing that the figures in the patch exactly match the figures in the material. Pin the edges of the opening to the patch in several places, baste carefully with even basting (Par. 103) and sew with fine hemming stitches (Par. 114). (A patch on a kitchen apron or a garment that re-ceives a great deal of hard wear might be stitched along this edge with the sewing machine.) To finish the wrong side of the patch (as the outline of the edges will show on the right side, trim them evenly), turn under the raw edges on a thread all the way around: baste in position; hem neatly in place. Remove the bastings and press the patch.

Figure 55.
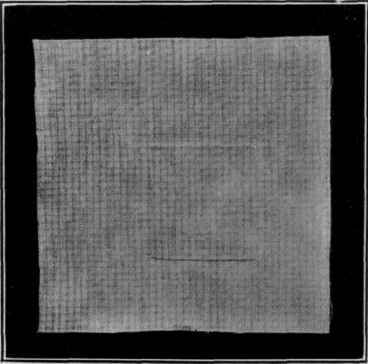
Figure 56.
Continue to:
My Books

