Sharpening Chisels And Planes
Description
This section is from the book "Things To Make In Your Home Workshop", by Arthur Wakeling. Also available from Amazon: Things to Make in Your Home Workshop.
Sharpening Chisels And Planes
Better and faster work can be done when plane irons and chisels are kept sharp. The first step in sharpening is to test the edge for squareness with a try-square as shown at A. Fig. 1. Grind the cutting edge straight and square by holding it against the side of a tool-grinding wheel as at B. A power grinder, small hand wheel, or common grindstone may be used for sharpening the bevel as at C. The tool can be held with or without the aid of a support. The bevel angle ranges from 15 degrees for soft wood to 20 degrees for hard wood.
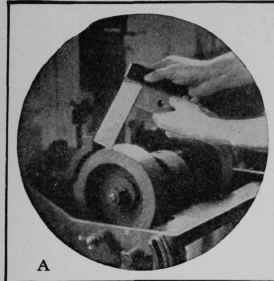
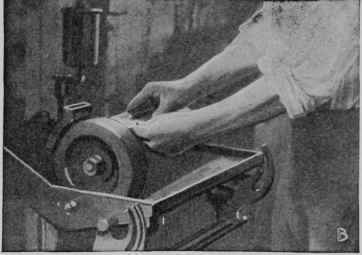
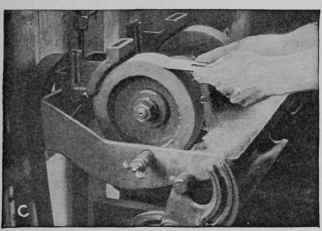
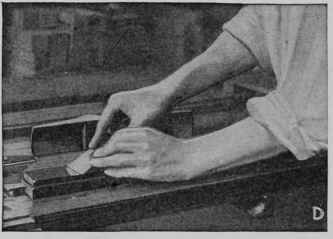

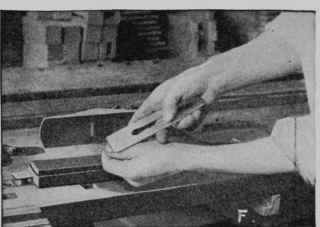
Fig. 1. - Steps in sharpening chisels, plane irons, and other chisel-edged cutters. How the keenness of the edge may be tested on the thumb nail.
The fine "wire edge" left by grinding may be pulled off by making a slanting cut in a bit of soft wood. The finishing is done on a fine oilstone, upon which a few drops of oil have been placed. Hold the bevel flat on the stone and rub either with a circular or a back-and-forth stroke as at D. Turn the plane iron or chisel over and lay it perfectly flat on the stone as shown at E. Take a few strokes back and forth to remove the fine "wire edge." Stroking the edge through a piece of soft wood may again be necessary, and sometimes the entire whetting process will have to be repeated for best results.
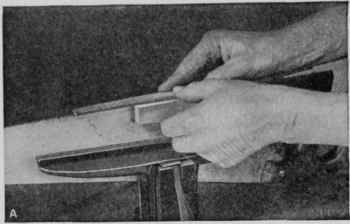
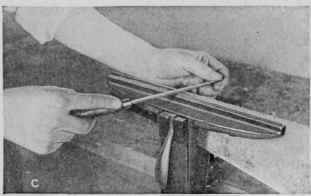
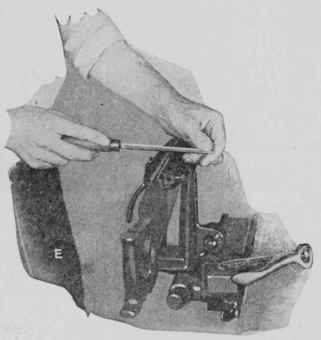

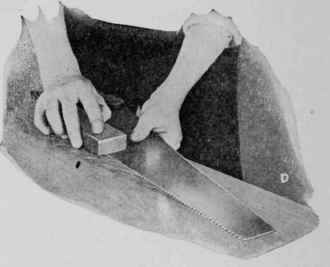
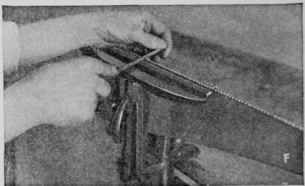

Fig. 2. - How to flie a handsaw : Jointing the teeth, setting them, filing both crosscut saws and ripsaws, and removing kinks.
Test the tool for sharpness by letting it bite on the thumb nail as at F. If it does not catch on the nail when resting with only its own weight, it is not properly sharpened. The final stropping is sometimes given on leather. Mechanics often strop the edge a few times in the palm of the hand in order to give a last keen finish.
Continue to:
My Books

