Package Bees - From Arrival To Honeyflow. Part 2
Description
This section is from the book "Beekeeping for Beginners", by G. H. Cale, Jr.. Also available from Amazon: Beekeeping for Beginners.
Package Bees - From Arrival To Honeyflow. Part 2
Every Step In
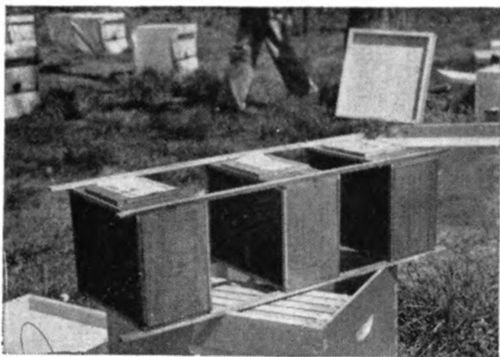
The best time to install a package is in the late afternoon or early evening. Take your packages of bees to where you have placed the hives and remove the wooden strips which fasten the packages together.
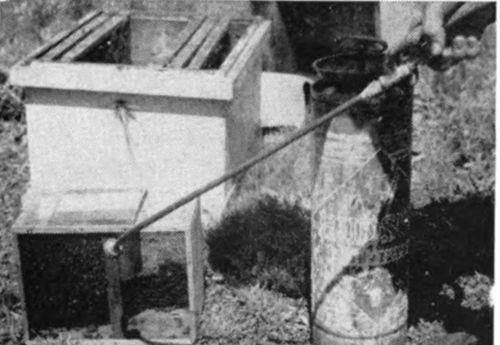
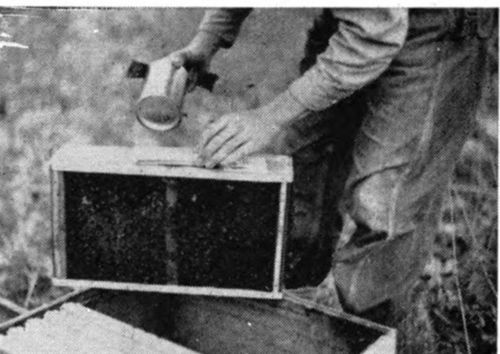
Wet the bees thoroughly with warm water. This can be done with a chemical of hand sprayer, or you may dip a large paint brush in a bucket of warm water and sprinkle the water on the bees. This wetting prevents the bees from flying.
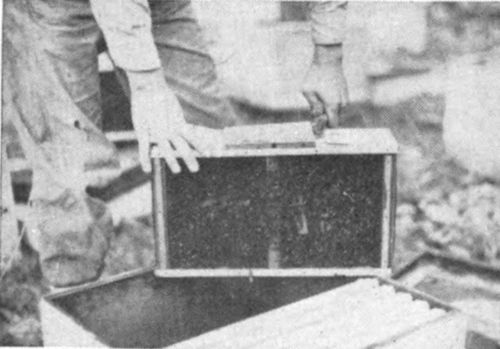
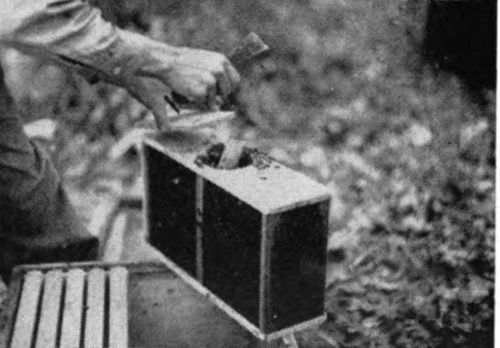
Using the angle end of the hive tool, the next step is to pry up and remove the wooden cover from the top of the package. Be sure to keep the cover near you because there is need for it when the feeder is removed.
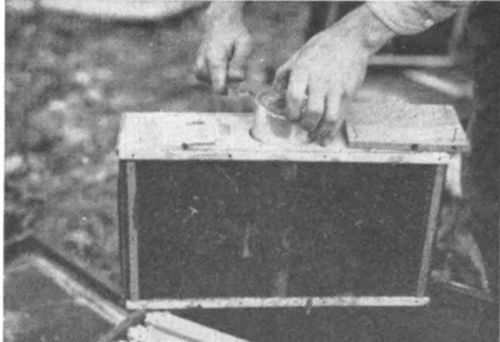
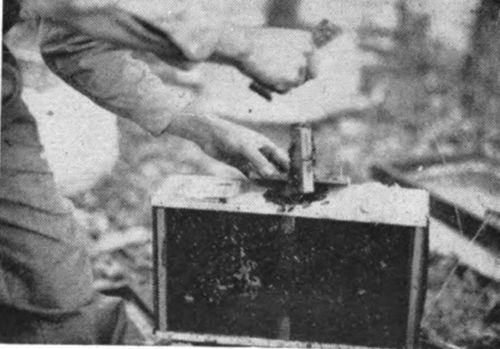
After removing the wooden cover, take the sharp end of your hive tool to lift up and remove the small feed can that was shipped with the package of bees. The remaining sirup in this can may be added to that which you have prepared for the bees.
Hiving Packages
When the feed is removed, place the wooden cover over the opening in the top of the package. This prevents the bees from getting out of the package while you are disposing of the can.
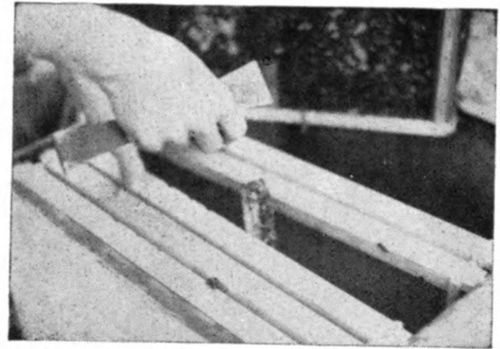
The next step is to take out the queen cage, which is sometimes suspended from a small wire or hung through a slot by a metal strip. Whatever method is used in preparing the package for shipment, the queen cage comes out easily..
When the queen cage is removed, the bees clinging to it may be shaken back into the package. This will prevent you from getting stung while you are working with the queen cage. Replace the wooden cover before you prepare the queen cage for the hive.
You will notice that one end of the queen cage has some white candy in it. The cardboard covering the hole which leads to this candy should be removed and a small hole, about the size of a match, punched through the candy.
Now suspend the queen cage in the hive. The proper place for the cage is between frames numbered two and three, or between frames numbered three and four. Be sure that the end containing the candy is toward the bottom of the hive.
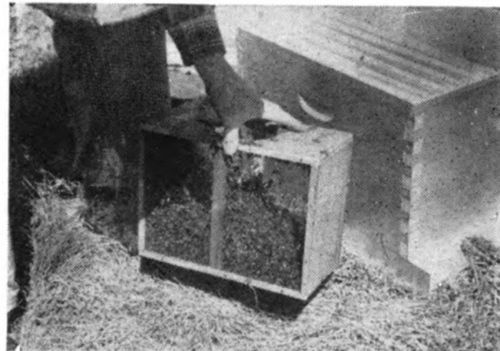
Leave the frames widely separated at the point where you suspended the queen cage. Then take the package cage containing the bees and bounce it on the ground. This will jar the bees to the bottom of the package cage.
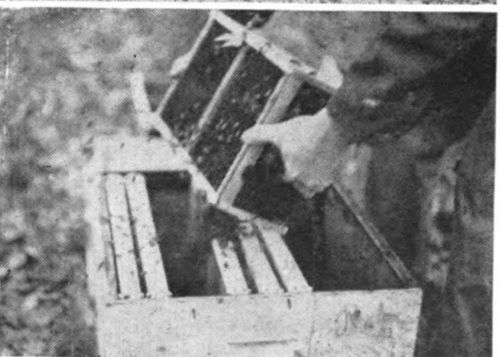
After jarring the bees to the bottom of the package, pour about half of the bees in the package between the frames where the queen is suspended. Then push the frames together, being careful not to crush and kill too many bees.
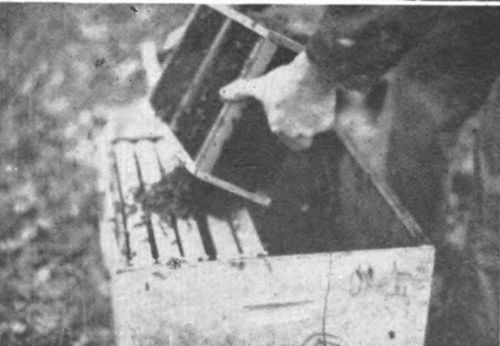
The next step is to jar the bees into the bottom of the package again and pour most of the remaining bees over the frames. The bees on the top of the frames will find the queen almost immediately and begin to eat the candy and release her.
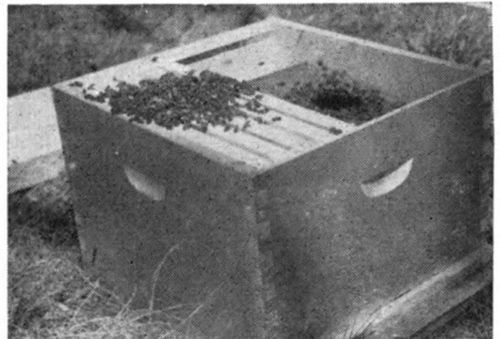
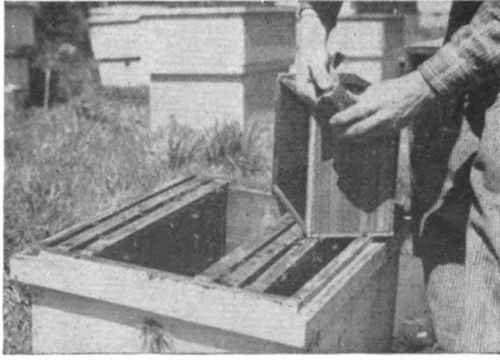
There will still be some bees left in the package which you will be unable to shake or pour out. Place the package with the remaining bees inside of the hive with the open top up. The few bees left in the package will crawl out.
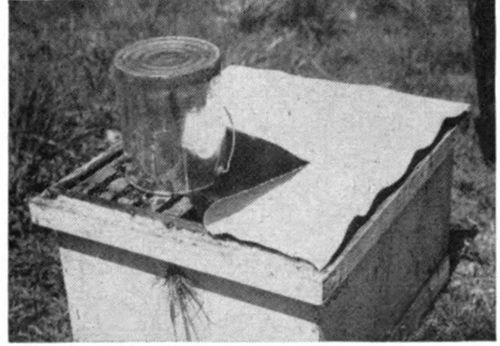
At this time it is best to use an oilcloth in place of the inner cover. (A piece of burlap or canvas will also work. ) Place the oilcloth over the frames and turn back one corner, then invert the feeder pail directly over the frames.
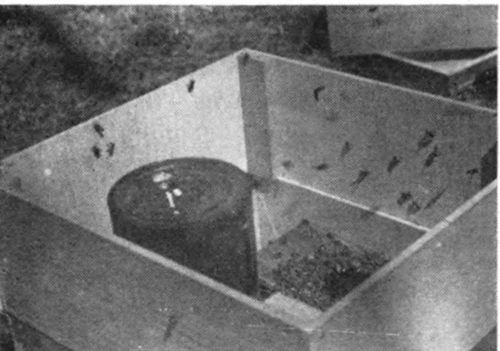
After the feeder and the oilcloth are in place, put the feeder shell on top of the hive. This feeder shell may be two empty supers or a specially constructed rim such as the one shown in the picture.
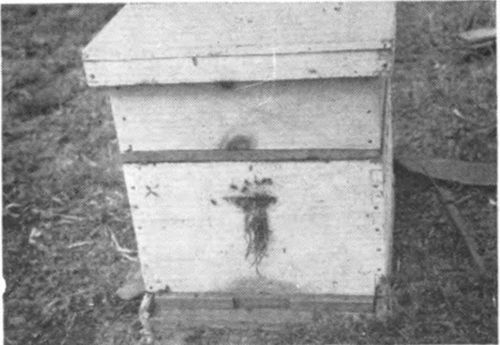
The last step is to place the cover on the colony and stuff the entrance with a little green grass. The grass keeps the bees from getting out of the hive too soon, and thus allows them to become accustomed to their new home.
How To Manage The Package Until The Honeyflow Begins
The day after the bees are placed in the hive you should examine the entrance of the hive to make sure that the bees have been able to work their way through the green grass that you put there. If the bees have not yet been able to get out of the hive loosen the grass slightly, but do not pull it out. Be sure that you do not remove the cover of the hive or disturb the bees in any way. It will take the bees some time to settle down in their new home. They have to eat through the candy in the queen cage and release the queen, and they have to build comb on the foundation you have given them. All of these operations will take time. After a week has passed you may safely take the cover off the colony and refill the friction-top pail with sirup.

Worker bees showing the wax scales secreted on the lower surfaces of the abdomen.
Two weeks from the day that you installed the package it is safe to open the colony and examine it. By this time the queen bee should have been released by the workers and will probably be laying eggs in the newly built comb and the bees should have made some progress toward building comb on the foundation which you furnished them. In building this comb the worker bees take the wax scales which are secreted on the under surface of their abdomen and shape and form them on the foundation until this wax conforms to the pattern of the cells.
Continue to:
My Books

