Stencil Plates
Description
This section is from the book "A Treatise On Architecture And Building Construction Vol4: Plumbing And Gas-Fitting, Heating And Ventilation, Painting And Decorating, Estimating And Calculating Quantities", by The Colliery Engineer Co. Also available from Amazon: A Treatise On Architecture And Building Construction.
Stencil Plates
143. A stencil plate is a perforated pattern, usually consisting of a sheet of paper or very thin metal, through which the design is cut as shown in Fig. 27, where a is the plate in which the pattern b is perforated. Small connecting pieces c, called ties, are left in when the pattern is cut out, to secure the various parts in their respective positions. The plate is laid over the surface to be decorated, and a short, stiff brush, as shown in Fig. 28, charged with color, is used to draw the pattern on the wall, through the openings b. Small unpainted spaces are thereby left at the ties, which must be filled in by hand after the stencil is removed, unless the style of pattern is varied to make these ties form part of the design. Fig. 29 shows the same scroll, with the different sections flared out to a foliated form where the ties exist. The ties a are, in this case, an advantage to the pattern, helping outline the central leaf b of the foliated design.
Fig. 30 is an elaboration of the stenciled pattern in Fig. 29, in which the spaces a, left by the ties, are painted in a contrasted color, carried around the entire figure, as shown at b. From this simple example it may be seen that the introduction of a more ornamental scroll is really less likely to take extra time than a perfectly plain one. The value of this arrangement is, of course, more apparent in the application of rapid decoration to ceilings and work further removed from the eye than the walls or dado of the room, especially when time is given to retouching the work and removing some of the raggedness inseparable from the use of the stencil plate.
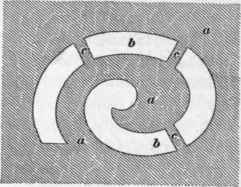
Fig. 27.
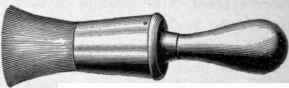
Fig. 28.
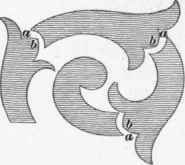
Fig. 29.

Fig. 30.
144. The panels of doors also admit of such decorative effect as the judicious use of the lining fitch and straightedge for borders and moldings may produce, with a stenciled design in the corners.
Fig. 31 shows a stencil which may be used as a corner design by itself in one color, or combined with a contrasting color, laid through another stencil, as shown in Fig. 32.
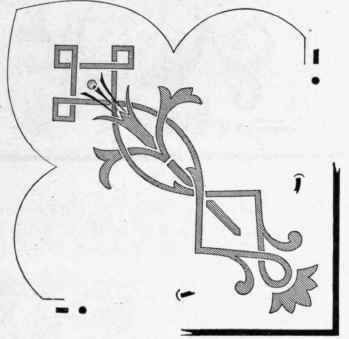
Fig. 31.
Here the lighter portion is still stenciled on the surface with the stencil plate, used in Fig. 31, while the darker color is laid over it, after the former has dried.
145. Borders And Centers
Borders And Centers. Fig. 33 shows a conventionalized maple-leaf pattern, which may be used as a stenciled border design, while Fig. 34 shows a still more conventional pattern of foliage, which is a repetition of the same lines between a and b.
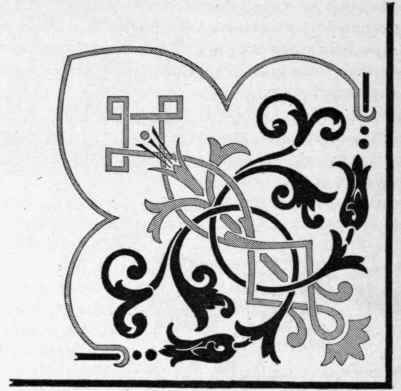
Fig. 32.
Where a stencil pattern is repeated at regular intervals as in Fig. 34, it is always desirable to have some mark cut through the stencil plate, by means of which the plate may be set and adjusted when moved to its next position; otherwise, there is the likelihood of unequal spacing of details and the irregular arrangement of parts. This is especially the case where the ties form a part of the design and the irregular spacing would cause them to be of varying widths.
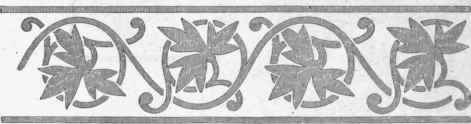
Fig. 33.

Fig. 34.
In Fig. 35 is shown a more complicated design for a border stencil where some of the ties are left to outline certain details of the pattern, while the others are all touched out to form a continuous figure.
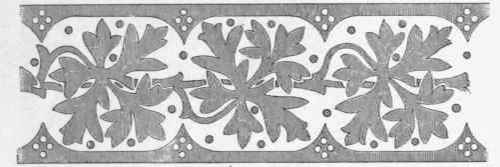
Fig. 35.
Fig. 36 shows a design for a stenciled cresting, which may be used to advantage in some borders. It is composed of various foliated forms, more or less conventionalized, to suit the pattern and purpose.
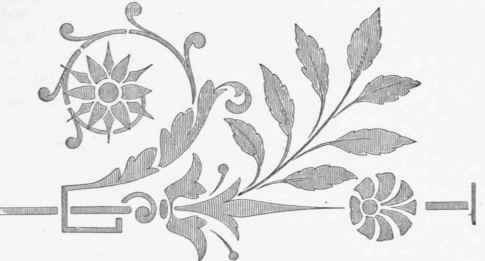
Fig. 36.
Fig. 37 shows a design for a corner piece where this conventionalized foliage is carried to excess, as was typical of the later Renaissance period, but is a style of ornament lending itself most readily to the work of the sten-ciler.

Fig. 37.
Figs. 38 and 39 show two patterns for centerpieces, which may be used on a ceiling or the face of a pilaster. Fig. 38 is executed in one color, with but one stencil plate, while Fig. 39 is prepared by first stenciling the lighter tint, and then applying the heavier shade on top of it, with another stencil, as described in connection with Fig. 32.
The flexibility of the stencil plate renders its application to curved just as easy as to flat surfaces, unless the curve exists in more than one direction. Fig. 40 shows a section of plaster cornice, the cove of which is appropriately decorated with a repeated stencil pattern, as shown at a, while the lower bead molding b is stenciled at regular intervals with geometrical figures.
Fig-. 41 shows another pattern, frequently used in the coves of cornices, and is somewhat more appropriate for deep coves than is the ornament shown in Fig. 40, being bolder in design and better suited to a dimly lighted position.

Fig. 38.
Continue to:
My Books

