II. Book Problems. Part 3
Description
This section is from the book "Paper and Cardboard Construction", by G. F. Buxton, F. L. Curran. Also available from Amazon: Paper and cardboard construction.
II. Book Problems. Part 3
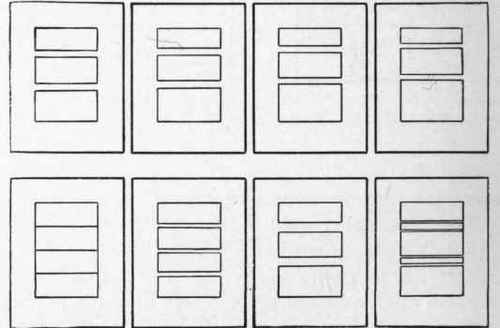
Typical Pages Of Mounted Colors.
Directions: a. Fold gray paper inside of colored paper.
b. Sew and tie as in number 113. If more space is wanted between pages, extra pieces of gray cover paper 1"x 6" may be folded and sewed into the book, as shown at A.
c. Mount rectangles of colored papers upon each inside page, so as to show good color schemes, keeping in mind both quality and quantity of each color.
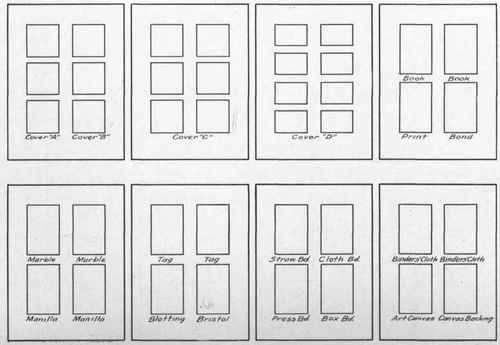
Note: - Samples of fabrics or of different kinds of papers may be mounted in place of color schemes. The arrangements on the following page are suggested for mounting paper samples.
Gray cover paper, 1 piece, 4 1/2"x 12" White book paper, 2 pieces, 9"x 12" Coarse linen thread, 15" Large needle, pencil.

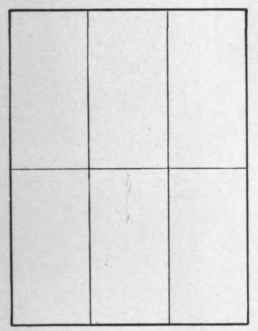
Book Paper 9"x 12"

Book Open 4 1/2"x 12"
Book Closed.
Directions: a. Fold book paper bottom to top, having length of paper horizontal.
b. Fold left to right.
Pages Of Mounted Paper Samples Book Problems c. Fold cover paper left to right.
d. Place book paper inside of cover paper.
e. Sew and tie as in number 113.
Note: - Use for drawings: - flowers, grasses, fruits, vegetables or small objects.
Manila paper, 2 pieces, 9"x 12"
Silk cord, 8"
Eyelet.
Eyelet punch, letter opener, pencil.
Manila Paper 9"x 12"
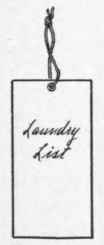
Finished List.
Directions: a. Fold two pieces manila paper with right edge two-thirds distance to left edge.
b. Fold left edge to crease.
c. Fold top to bottom.
d. Fasten eyelet near center of top.
e. Tie loop of cord thru eyelet for hanging.
f. Tear leaves apart with letter opener.
g. Write "Laundry List" upon outside.
Note: - Use to record articles sent to the laundry so as to check up proper return. Other uses than as Laundry List may be suggested and the name changed accordingly.

Laundry Lists Book Problems.
Cover paper or press board, I piece, 6"x 9 Stay tape, 1 piece, 9" long Scissors, pencil, rule
Cover paper 6"x8"
Cut From 6"x 9"
Tape On Back Of Portfolio.
Front Cover.
3"x8"
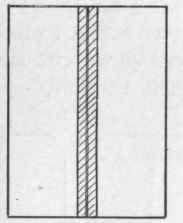
Directions: a. Lay out cover paper 6"x 8", and cut to size. Measure from lower corner and mark each edge of paper. connect marks, cut to line.
b. Fold left to right.
c. Stick stay tape over fold and cut ends even with top and bottom of portfolio. Note: - This may be used for carrying folded letter paper, or clippings, or school work. It is a convenient size for the pocket. By making the folder from 9" square stock, it will be 4 1/2" x 9", suitable for carrying a large variety of folded papers. It may seem desirable to make both sizes.
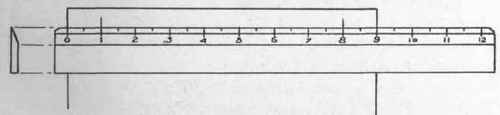
It is best to begin measuring from a clear mark a little distance from edge of rule, if such rules be available, as indicated in the sketch. It is best also to make all measurements in one direction without moving the rule, so as to avoid multiplying errors. In the sketch measurements are 1", 7", and 1", beginning at left edge. Pupils must be kept on their guard in adding the smaller measurements.
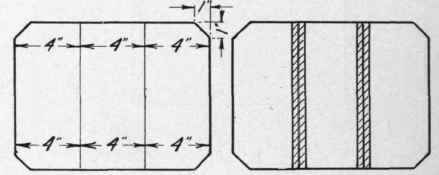
Heavy cover paper, 1 piece, 9"x 12". Stay tape, 1 piece, 19" long. Rule, pencil, scissors.
Inside Of Portfolio Tape Shown On Back.
Directions: a. Lay out three 4 inch measurements across top and bottom of 9"x 12" cover paper, and connect these with straight lines.
b. Set off 1 inch measurements from each corner, and connect across corners as shown in drawing.
c. Cut off corners.
d. Fold right edge nearly to first line.
e. Fold left edge nearly to this crease.
f. Unfold and stick pieces of stay tape over creases along the back of portfolio.
Note: - This is to be used for the same purpose as number 211 but has the advantage that it holds papers more securely.
Gray cover paper, 3 pieces, 6"x 9".
White book paper, 1 piece, 9"x 12".
Coarse linen thread, 18".
Paste.
Scissors, rule, pencil, needle.
Cover Paper 6"x9" Laid Out 6"x 8"
Inside Of Book Ready To Tie.
Cover Of Book - 3"X 8".
Directions: a. Lay out each piece of cover paper 8 inches up from bottom edge and cut to 6"x 8".
b. Fold left to right and place two pieces inside of third, which will serve as cover.
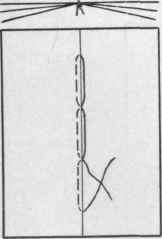
c. Sew down a little distance below center, up a little distance above center, down near top, up thru second hole, down thru first hole, up near bottom.
Continue to:
My Books

