


A Scrap-Basket. Part 3
Description
This section is from the book "Design and Construction in Wood", by William Noyes. Also available from Amazon: Design And Construction In Wood.
A Scrap-Basket. Part 3
1These numbers refer to the numbers of the parts as given in Fig. 101 of Handwork in Wood, p. 6q.

Fig. 14. A deep basket with feet made by shortening the central slats.

Fig. 15. A broad substantial basket.
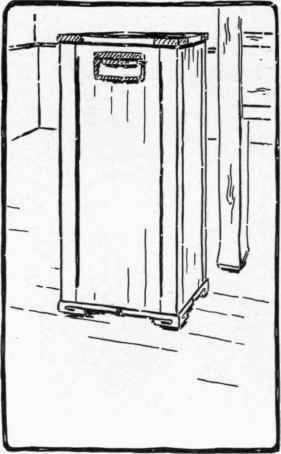
Fig-. 16. Basket with plain copper handles and corner braces and with feet of carved blocks.

Fig. 17. Neat finish for top of scrap-basket.
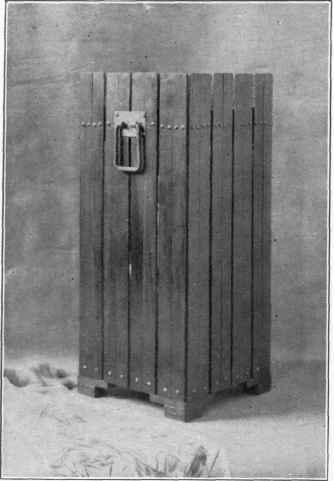
Fig. 18. Basket with copper handles and copper nails.
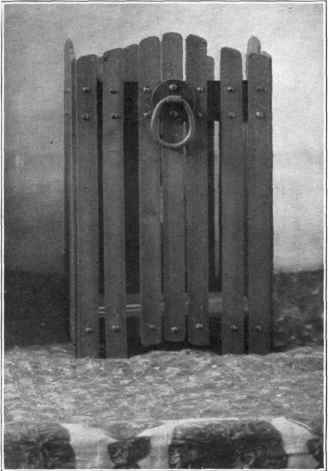
Fig. 19. Basket with copper handles and nails.

Fig. 20. Using a crosscut-saw.

Fig. 21. Sighting along the sole of the plane to see that the cutter is properly adjusted.

Fig..22. Adjustment of plane cutter; sighting- along sole of plane, as in Fig. 21.
Repeat this operation on the other similar 16" piece. Put a pencil mark, thus =, on this edge for identification.
If you obtained your pieces from the mill exactly 16" long, and sawed square, the next two steps may be omitted. If you sawed off the two pieces yourself, their ends must be squared. To do this fasten one piece in the vise, end up. Cut off diagonally with the knife or chisel the arris (corner) away from the edge already planed for about ¼" as shown in Fig. 26.
The surface formed by cutting off an arris is called a chamfer.
Set your plane a little finer than for planing with the grain, and plane this end in the direction of the arrow, observing the same precautions as before. This end must now be tested not only for straightness and for squareness with the surface, but for squareness with the edge already planed,

Fig 23. Testing the straigrhtness of an edge with the arris of the plane.
Fig. 27. Next measure exactly 16" from this end and, with a sharp knife-point and try-square, draw a fine line at right angles to the finished edge. Saw off the surplus outside of this line. Cut off the arris away from the finished edge and proceed as before.
Finally plane the other edge, taking pains to make it perfectly parallel to the first edge. Repeat all these processes on the other 16" piece.
III. Laying out the slats. We are now ready to lay out the slats for the basket. This is done by drawing gage lines on the two opposite faces of both boards. To do this proceed as follows:
The lines are to be drawn as shown in Fig. 28. The spur of the marking-gage should project fiom the beam about a quarter of an inch and should be sharpened (filed) to an edge as shown in Fig. 29, and in Handwork in Wood, Fig. 212. By having the spur long and turning the beam of the gage so that it rides on an arris, the spur will mark smoothly and evenly. Holding the marking-gage in the left hand, and the rule in the right hand (See Handwork in Wood, Fig. 213), set the distance from the head of the marking - gage to the spur at 3/16" and tighten the thumb-screw. Now hold the board with the left hand and the gage in the right hand (Fig. 214, Handwork in Wood). Be careful not to grasp the beam as if it were a handle, but turn the wrist to the left so that the thumb presses on the beam behind the spur. Do not try to make a scratch at first, but run the gage up and down the board
Continue to:


My Books

