


The Candlestick. Part 5
Description
This section is from the book "Design and Construction in Wood", by William Noyes. Also available from Amazon: Design And Construction In Wood.
The Candlestick. Part 5
Apply soldering fluid to the joint from the inside of the socket, lay a couple of pieces of wire solder next the joint, hold the pan and socket over the gas flame just until the solder melts, and then quickly wipe the melted solder into place, as before. If the joint is close and the soldering fluid is carefully applied, the solder will hardly show on the outside. If it does, it can be cut off with a sharp knife.
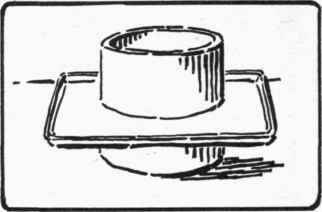
Fig. 113. Pan encircling socket.
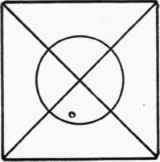
Fig. 114 Lay-out for pan shown in Fig. ll3.
Polish the surface with a fine emery cloth and then with a cloth smeared with tripoli, or on a buffing wheel, if that is available. To darken, dip in a solution of liver of sulphur, and hammer it into the mold with the peen of the horn hammer. The depression thus made may be set into a corresponding depression cut in the wood of the candlestick and the whole fastened in place with copper tacks, the heads of which are filed square.
(potassium sulphide) and coat with turpentine.
A slightly more difficult form of socket and pan is shown in Fig. 113. For this form, after the pan has been shaped, cut a hole in it thus: Find the exact center of the square by drawing the diagonals, and with the compasses draw a circle just the outside size of the socket, as in Fig. 114. Drill a hole somewhere within this circle, and with a coping-saw, Fig. 115, saw out the circle, sawing always within the line. While sawing, the pan may be conveniently held over the notch of a piece of wood cut in the shape shown in Fig. 116. Then file the hole to exactly fit the socket. Tie the two in place with iron wire, and solder from the under side. This socket may also have a bottom soldered to it, but this is not absolutely necessary.
The rim of the socket may be embellished by having a ring of copper wire ⅛" thick) soldered to it as shown in cross-section in Fig.
117. The photographs given show a variety of designs for the pans.
An easy way to hammer out the shape shown in Fig. 118, Nos. 1 and 3, is to gouge out of a block of maple a mold of the desired shape, tack down with carpet tacks the copper over this mold, as in Fig. 119
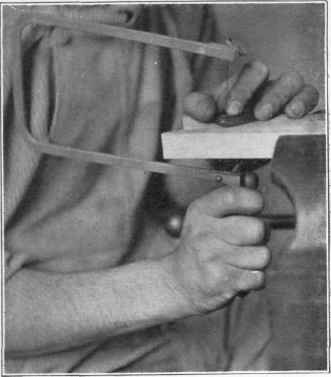
Fig. 115. Using a coping-saw.
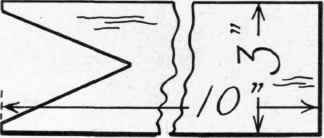
Fig. 116. Wood notched to hold copper while sawing.
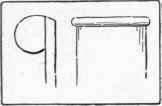
Fig. 117. Wire ring around edge of cup.
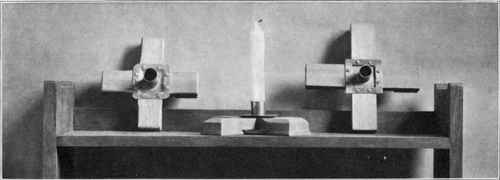
Fig. 118 Low candlesticks.
In some of the designs copper handles are shown. See Fig. 96. They are shaped in a way similar to that of the cups, and in some cases are screwed to the wood under the rim of the saucer, and in some cases soldered to the socket and pan. Other simple projects involving the cross-lap joint are the flowerpot stands, shown in Fig. 120, having either one or two joints.
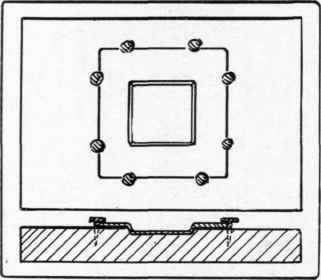
Fig. 119. Rim pan tacked down over mold.
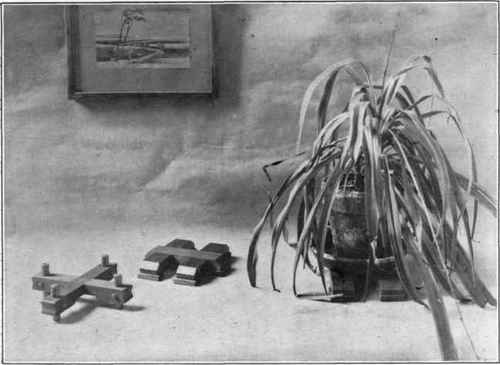
Fig. 120. Flowerpot-stands, made with half-lap joint.
The same joint is used in the taboret, Chapter VIII (Taboret).

Fig. 121. Smoking-table.
Continue to:


My Books

