Trays. Part 3
Description
This section is from the book "Design and Construction in Wood", by William Noyes. Also available from Amazon: Design And Construction In Wood.
Trays. Part 3
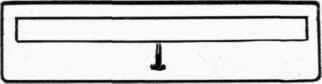
Fig. 173 Depth-gage: nail in a strip of wood.

Fig. 174. Tray and blotter with tool marks of gouge left showing.
Be careful at the ends of the lines. Do not let them fade away, as A, in Fig. 175, but finish clean and round, as at B.
For quite fine lines, as in Fig. 172, a veining tool, so called, is used. This is simply a very small gouge, and has to be whetted with a slipstone having a knife edge. Such a design as the rosette is made with a veining tool. The especial danger in using the veining tool, is that it will slip beyond control and mar the wood. Curved lines must be followed by hand, but straight lines may be kept straight by running along the edge of a rule or other straight edge held firmly in place, Fig. 176.
Once the gouging is finished, the outline of the tray may be shaped. If the curves of the outline are large, use the turning-saw
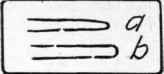
Fig. 175. How to finish ends of line carving: a, wrong; b, right.
-9
(Handwork in Wood, p. 67) and the spokeshave (Handwork in Wood, p. 118); if small, use the chisel (Handwork in Wood, pp. 56, 57). Concave curves should be trimmed out with the inside bevel gouge and if quite small should be bored out with a bit of the proper diameter, before the lines adjoining them are cut with the saw or chisel. For example, in Fig. 177, bore out A and B, locating their centers accurately, from the working face, X, before cutting out the longer curves.
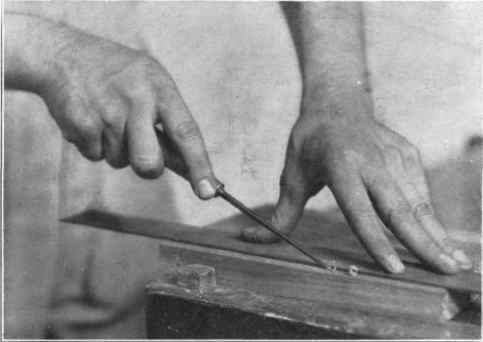
Fig. 176. Guiding a veining tool along a straight edge.
If necessary, use a file or even a rasp to bring the line to shape. But if this is done, be careful to remove every trace of the tool marks afterward with the chisel and sandpaper.
In many of the designs shown, the edges of the outline are modeled, so as to give an appearance of lightness to the tray and to make it easier to pick up. In de-signing this feature, remember to keep the tray stable, that is, not to undercut the edges so far that the tray will tip over at a slight touch. Make the base therefore at least as large as the trough. This may be done effectively by caivingout a cove with the gouge as in Fig. 178. This in most cases would be wider at the ends of the tray than at the sides to correspond with the design on the upper side. In this case let the side cove run smoothly into the end cove.

Fig. 177. Laying out curves.
Or, the cove may be turned into an ogee by rounding with the chisel the lower angle, as in Fig. 178, b. Then the whole surface should be scraped even, and smooth, and sandpapered. Be very careful while working on the underside not to mar the upper surface.
Next rub the whole surface carefully with steel wool (No. 00) to get it as smooth as possible.
To bring out the grain of sweet gum, nothing is so good as a coat of boiled linseed oil (oil, 1 part, turpentine, 2 parts). Apply with a brush, rub well with cotton waste, and set aside to dry.
Then apply successive coats of white shellac, letting it dry for 6 hours or more, and rubbing it down with steel wool between each coat. Be very careful to avoid gobs, and to have each coat thin and even. Shellac is not to be smeared on.
Finally the whole may be polished on the buffer, or better still, by the process of French polishing, directions for which are given in Handwork in Wood, p. 217.
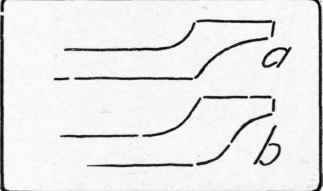
Fig. 178. Forms of cross-sections of trays.
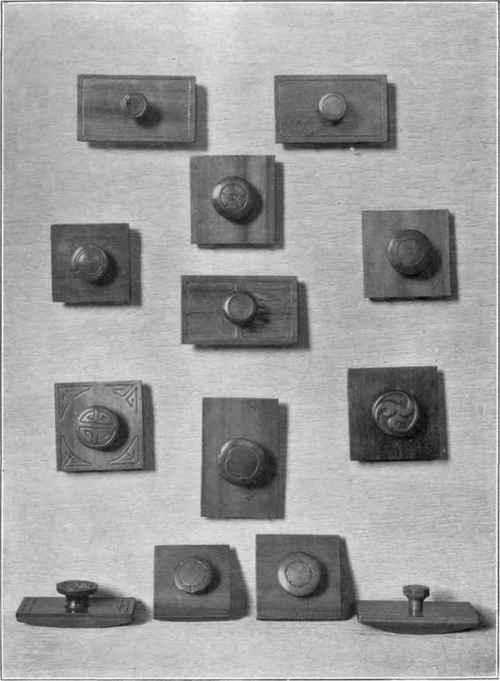
Fig. 179. Rolling blotter-holders.
Continue to:
My Books

