Number XVI. Candlesticks
Description
This section is from the "Elementary Turning" book, by Frank Henry Selden. Also available from Amazon: Elementary Turning.
Number XVI. Candlesticks
Although candlesticks of wood are not very useful, yet they are excellent exercises in turning. They may be supplied with a metallic top.
Usually, in making the candlestick it is more convenient to turn the parts separately, finishing them completely, including polishing, before putting them together.
The base may be fastened to an iron face-plate and finished, as shown in Fig. 195. The hole is bored the same as in making the box, Lesson 26. If you wish to finish the under side of the base, it may be placed in a wooden chuck, the same as the ring (Fig. 165); or the napkin ring (Fig. 169); or the pin tray (Fig. 227).
Care must be taken to locate the screws so that they will enter the thick portion of the base, or they will interfere with the turning.
The stem is turned on the center the same as the exercises in Part I. Fig. 196 shows the piece outlined, and Fig. 197 shows it finished.
The joint at the base may be hidden by a bead as in
Fig. 194, or it may be shaped as shown in Fig. 199 or 203. The hole at the top for the candle is usually bored with a Forstner bit after all other work on the candlestick has been completed. The hole may be started while the piece is in the lathe. For this purpose use either a small turning gouge or a turning chisel. Sometimes
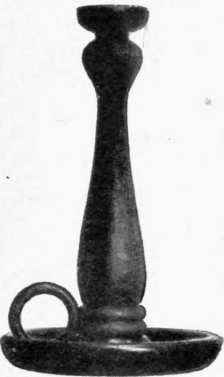
Fig. 194. Candlestick with Handle.
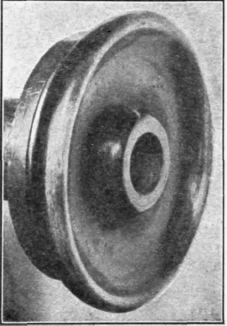
Fig. 195. Base for a
Candlestick.
a ring for a handle is placed on the side, as shown in Fig. 194. The ring is turned and finished on an arbor, as shown in Fig.
198. This ring is too small to be turned easily with the skew chisel, therefore, the special ring tools are used, as shown in Figs. 198 and 295. These tools may be of various forms and sizes, as described in Part 3. After the ring has been polished as much as possible on the arbor, cut it entirely loose, and finish it by hand or in a chuck, as shown in
Fig. 165. Fit with a knife where it joins the base and the stem.
Scrape the finish off wherever the parts join so that glue will hold properly, and glue it to place.
In turning candlesticks, similar to Fig. 199, the base is turned on a chuck the same as shown in Fig. 195. The stem is roughed
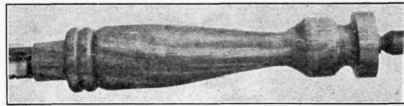
Fig. 196. Candlestick Stem Outlined.
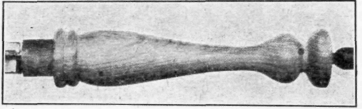
Fig. 197. Candlestick Stem Finished.
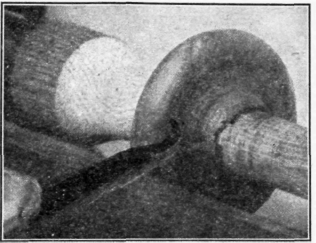
Fig. 198. Turning a Small Ring.
out between centers, and the joint carefully made by holding the tools as shown in Figs. 206 and 207. The stem is then glued to place, and turned on the face-plate. The joint must be thoroughly sized with glue before putting together,
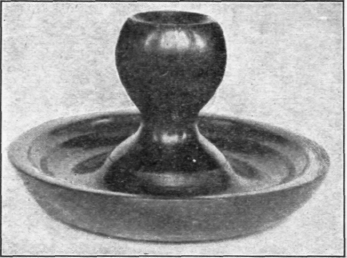
Fig. 199. A Low Candlestick.
Continue to:
My Books

