Model No. 1. - Cube
Description
This section is from the book "Sloyd Educational Manual Training", by Everett Schwartz. Also available from Amazon: Sloyd.
Model No. 1. - Cube
Present a cube to the class, and develop the idea of its form when unfolded, as with the cube in the paper series.
This series of models being entirely closed on all sides, it is necessary that there shall be laps or margins, adhering to the sides for gluing. Have the pupils tell how many laps are needed, and where. When this is clear in the minds of the pupils, erase what may have been drawn on the blackboard as an illustration. and, for a lesson in attention and accuracy, have them draw the diagram from dictation as follows, being careful to give directions slowly, concisely, and not to repeat them if possible:
Bisect the back edge of the paper; place the corner of the ruler at this point, so that the short edge of the ruler will coincide with the back edge of the paper; along the edge of the ruler, place a point four inches below the point of bisection. Place points directly opposite on the right and left edges of paper. Connect the three points with ruler, having the six inch mark rest upon the middle point. This middle point shall be the middle point of a two inch line. Draw the line. Place the corner of ruler at the right end of this line so that the short edge of ruler shall exactly coincide with the line, and, beginning at the right end of line, let fall a perpendicular along the edge of ruler, eight and one-fourth inches in length.

Beginning at the upper end of this line set off a one-fourth inch space, and below this point four two inch spaces. The point one-fourth below the horizontal line is point No. 1, the point two inches below No. 1 is point No. 2; below No. 2 is No. 3: below No. 3 is No. 4.
From the lower end of this line draw a perpendicular two inches to the left; connect the left ends of two horizontal lines, placing and numbering points as before. Connect points No. 1. extending the line one-fourth of an inch to the right and one-fourth inch to the left. Connect points No. 2, extending the line two and one-fourth inches to right and left; draw a corresponding line through points No. 3; connect right ends of lines extending through Nos. 2 and 3; connect the left ends of these lines.
Connect points No. 4, extending the line one-fourth of an inch to right and left.
On the line extending through points No. 2, place points a one-fourth of an inch from each end: place corresponding points on line extending through No. 3, and connect opposite points.
Construct similar margins on right and left sides of upper square; and on the square below the middle square.
On the upper horizontal line place a point one-fourth of an inch from the right end. Join this point with point No. 1; cut all corners of all margins in like manner.
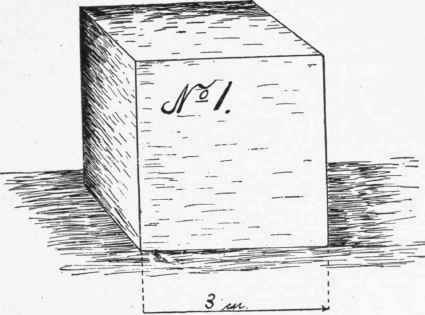
Transfer the drawing upon card-board to a scale of two inches to three inches, or the making of a three inch cube.
Have the class tell along which lines to crease for folding. This should be done along the edge of the ruler with the point of a sharp knife, drawing the knife toward you in a cutting position and cutting the card-board half way through.
Now with the shears cut along the outer edges of the whole diagram. Then cut away corners of margins. Fold so that the creases shall be on the outside and the margins inside.
Spread a thin coating of glue upon the outside of margins, and glue carefully together, one side at a time.
Continue to:
My Books

