How To Make A Walking Policeman
Description
This section is from the book "The Boy's Book Of Mechanical Models", by William Bushnell Stout. Also available from Amazon: The Boy's Book Of Mechanical Models.
How To Make A Walking Policeman
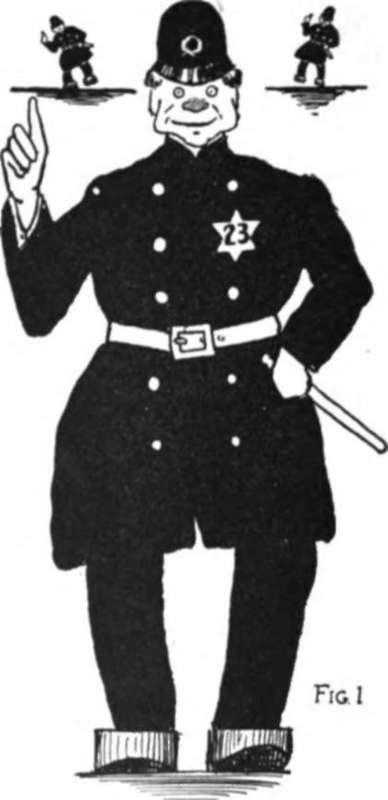
The body part of this policeman is cut of thin cigar-box wood after the pattern of Figures I and 2, which can be traced off or enlarged by squares to fit the piece of wood you have. Do not try to make the body less than six inches high.
Figure 2 shows the machinery that makes the man walk. The pattern for the legs is clearly outlined. This is cut from half-inch wood and proportioned to the size of the body.
The driving wheel is shown at W. Make a circle on a piece of cigar-box wood large enough to just fit in the position shown and not project beyond the sides. Make another circle a quarter or three-eighths of an inch inside of this, and then divide the outer one into twelve parts.
Do the same with the inner one, seeing that the divisions come just halfway between those on the outer circle, and then connect the dots with lines. This will mark out a twelve-pointed star wheel, as you see at W. This wheel has a hole n bored in its center, and is then mounted on a small half-spool E, Figure j, as a hub. Another spool is now tightly mounted on a shaft D of wood as at S. This spool has six notches cut in one rim, as in the drawing of the ratchet in Figure 5, the notches being at J.
Ready to start off.

The wooden spool shaft sticks out of one end of this spool far enough to run through the wheel W and its spool hub E, which turn loosely on it. The hub S, as I said before, is tight on the shaft D.
Now in the back piece B bore a hole through which this shaft D will fit loosely, and opposite it, in Ay bore a small hole for the brad n to fit loosely through.
Stick the back end of the shaft D through the hole in B and square off what projects through, so that you can fix a crank K on it. On W itself fix a little wooden "pawl" P, in the ratchet drawing, Figure 5, with a rubber band r to pull it against the rim of the spool, so that when the spool turns one way the pawl P will slip over the notches, and will catch when the spool turns the other way. Now, through the Piece you have cut out for the legs, bore a small hole at b, Figure 2, and mount through it a shaft b, Figure 3, the same length as shaft D above, on which the spool S is mounted. Make a hole in B directly under the hole through which D runs and just far enough below so that when the wheel W turns it will not hit shaft b, which is mounted in this hole by a brad driven into the end of the shaft, as at n. A similar hole is made in A, just opposite, for the other end of this shaft, which is fastened there with another brad n.

Next cut three sticks about a sixteenth of an inch longer than the shafts D and b, and fasten the pieces A and B together temporarily, nailing the piece a across at the head and the pieces C at either side of the hips. The pieces C are not shown in the side view, but their location is indicated in Figure 2 and you can see a at the top of Figure 3.


If everything fits well, take A off again, and into I drive two shingle nails N, whose distance apart is such that when W turns, one nail A" is on top of a star point of W when the other is clear at the bottom of the V, as in Figure 4.
Now, if you put A on again and hold A-B in your hand,-that is, the body part of the policeman, - the legs will swing like a pendulum when you turn W, for the points of the star will push the nails N out and in as the wheel W turns.
But we cannot stand and turn W ourselves, so we must fix a spring, and the most common kind is one of rubber bands. Drive a small tack into S, Figure 3, and hook one end of the rubbers R to it. Then run them round S in the same direction that the ratchet catches and up to a nail on a at the head. Wind the toy up by turning the crank K on the end of the shaft D. Though the spool S turns, and the rubber winds up, W does not turn, for the pawl slips over the notches in the spool rim 5. When we release the crank, though, the rubber band pulls the spool around, the pawl catches, and the wheel W turns, thus wobbling the legs. Make the feet of blocks F, as shown, and nail them on at the bottom of the legs as at m, Figure 3.
Nail A on. Drive the brads that pivot D and b at the front into their positions through the holes you have made for them, and be sure that W can turn all the way around without catching. It will not catch if you have marked and cut the wheel W carefully. The shaft b should be as near to the rim of W as possible without hitting, and the nails N should be equally distant from b and as far apart, as I said before, as the distance from the top of one star tooth to the bottom of the second distant from it, as in Figure 4.
Now set the policeman on an incline and wind up the crank. When you let him go, his legs will swing and his body will move.
Continue to:
My Books

