Lesson III. Practice-Charts. Part 3
Description
This section is from the book "Complete Self-Instructing Library Of Practical Photography", by J. B. Schriever. Also available from Amazon: Complete Self-Instructing Library Of Practical Photography.
Lesson III. Practice-Charts. Part 3
84. When The Lead Is Properly Applied
When The Lead Is Properly Applied. The lead is properly applied, when by sitting erect at the easel and viewing the work from this distance the effect of the penciling causes the blemish to gradually disappear; yet apparently, no marks of the pencil are visible on the surface. In other words, the stroke of the pencil should be so light that
it merely blends the transparent blemishes with the main surface. If the lead is applied too heavily you will build the transparent portions above the other parts, which is carrying the work too far. What we do want is to even up and blend all surfaces and to stop retouching at that stage.
85. General Practice Work On Practice-Charts
General Practice Work On Practice-Charts. In Fig. 1 of Illustration No. 10, is shown the same head as given in Illustration No. 9, but in regular cabinet-size. After you have practiced on the chart showing the enlarged features, and have become quite familiar with the stroke required to break up the imperfections and have them all of a uniform tone with the parts which surround them, you may then begin to prepare Chart No. 2, which is the negative of Fig. I, Illustration No. 10. Attach this chart to the glass in the same manner as you prepared No. 1 and proceed with the work in the same manner. For working this face you use the same stroke, only on a smaller scale, and a less number of strokes will be required to accomplish the same results, as the face is much smaller in size.
86. In Illustration No. 10 is shown three stages of the work applied to the negative of the same subject as No. 9. In Fig. 1 of this illustration, we have the freckled face untouched. In Fig. 2 is presented one side of the face with the freckles removed, all transparent spots and blemishes filled in, but no attempt made at modeling. In Fig. 3 we have filled in the transparent spots and freckles and also modeled the one side of the face completely, while the opposite side has had only the freckles removed, leaving a blotchy surface exactly as it appeared in Fig. 2. By comparing these two illustrations, Fig. 2 with Fig. 3, you will observe the effect of modeling after the blemishes have been removed. It is not intended that you should make any attempt at modeling at this stage. This illustration is only intended to give you an idea of the appearance of a modeled negative, also to show you more distinctly the effect of filling in blotches and freckles in the face and how the negative will appear with only the blotches removed, with the face remaining unmodeled.

Illustration No. 10. Three Stages of Elementary Retouching.
See Paragraph 85.
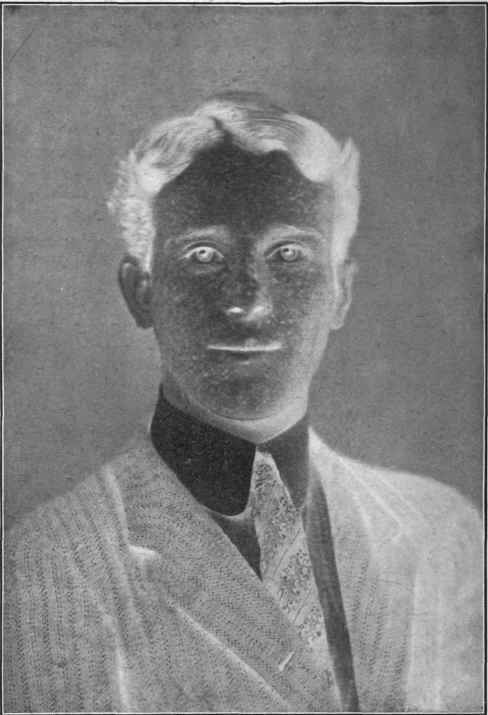
Chart No. 2 Reproduction of Practice Print.
See Paragraph 85.

Examples of Unretouched Negatives - Front view.
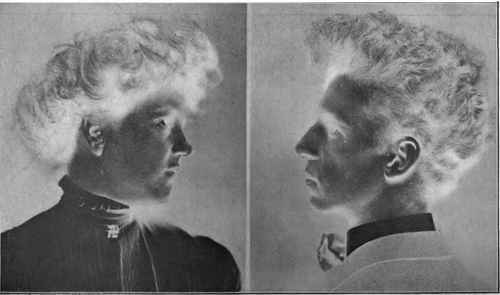
Examples of Unretouched Negatives - Profile Views.
87. Do not sit too close to your work; in fact, sit erect and as far away from your work as is consistent with your being able to properly handle the pencil. If too near you will see the actual strokes made by the pencil on the film, and you will not be able to detect any imperfections excepting the most transparent spots. It is not necessary to see the pencil-work, but the results produced by the pencil on the surface of the plate. Only the effect produced by the pencil is to be your guide. Your eye must become trained to see the imperfections and to judge when sufficient lead has been applied to build them up, blending them with the surrounding tone.
88. If, after your first efforts on any of the charts, your results are not satisfactory to you, again prepare the chart by applying more dope to it and rubbing smooth with cotton. The second application of dope removes the work done and at the same time prepares the chart again for work. Practice should be continued on these charts until you become able to apply the lead to any part you desire. By this time you will find that in place of your directing the pencil upon any portion of the chart, the pencil will, practically speaking, lead the hand and you will, instinctively, direct its movements. When this point has been reached, the most difficult part of retouching has been overcome. This time may not occur while you are yet at work upon the practice-charts, but do not become discouraged at this, for it surely will come sooner or later and when the time arrives and the pencil apparently leads the hand, retouching will become a pleasure. Continued practice is of the greatest importance in acquiring this end.
Continue to:
My Books

