Stamping Leather
Description
This section is from the book "Time Out for Living", by Ernest DeAlton Partridge and Catherine Mooney. Also available from Amazon: Time Out for Living.
Stamping Leather
Leather can be decorated very easily and satisfactorily by stamping. Cowhide strap leather and heavy steerhide are most satisfactory for this purpose, although small stamps can be used on the lighter leathers, such as tooling steerskin and calfskin. Such articles as knife sheaths, ax sheaths, belts, hot-dish pads, camera cases, first-aid kits, and luggage tags can be made by stamping.
Although stamped leather articles appear complicated, they are really easy to make, if you have a little patience and if you can work with care. Most interesting of all is the fact that you can make many of your own tools. Most of the tools needed can be made from ordinary 16 or 20 penny nails.
The following tools are needed in order to make your own stamps from nails. None of these is expensive. If several persons purchase a set in common, it will cost each one only a few cents. Here are the tools you will need:
A ten- or twelve-inch steel file, that is, one that will cut the steel of a nail readily, but will not be too coarse a file.
One or two No. 4 cut, round-handled jewelers' files.
A rat-tail or round file about the same size as the jewelers'.
A three-sided taper file.
A center punch.
A wooden mallet, or a piece of solid wood about one and a half inches thick that can be used for a mallet. You can make your own mallet very easily.
A vise is handy for holding the nails while they are being cut, but it is by no means necessary. Some sticks of firewood about two or three inches thick are just as good, and in some ways better. Drive the nail about three fourths of its length into the end of the stick. You can hold it between your knees or against the side of a bench while you are filing the nail.
Now, just a word about the stamps is necessary before explaining how they are to be made. The most important thing is to make the stamps exactly the size illustrated on page 234. There is a strong temptation to make them too large. You can avoid this by frequently comparing the stamp you are making with the illustration.
The Pine-Tree Stamp
The pine-tree stamp is one of the most useful of all leather stamps, and one of the easiest to make. First file the head of a nail until it is exactly the same size and shape as that shown in figure 2, on page 234. Use the ten-inch file. Then, with the small rat-tail file, make the round impression in the center of the base as shown in figure 4. The radials can then be and then allowed to dry slightly. If water oozes out when the stamp is placed on the leather, it is too wet. After a little experience, it is not difficult to tell when the leather is ready. If it gets too dry while you are working upon it, a sponge or cloth should be used to wet it slightly.
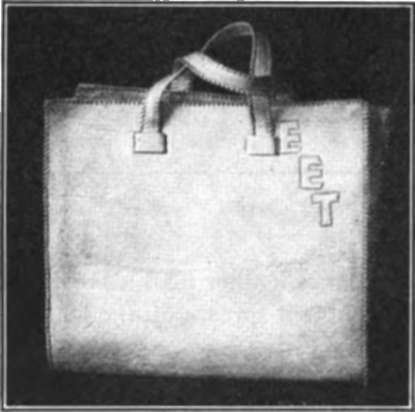
The initials on this handbag were impressed with a pointed leather tool while the leather was wet. The lacing is a simple stitch. The most important thing for this project was the right pattern. Russian tooling calfskin was used to make a handsome, sturdy bag.
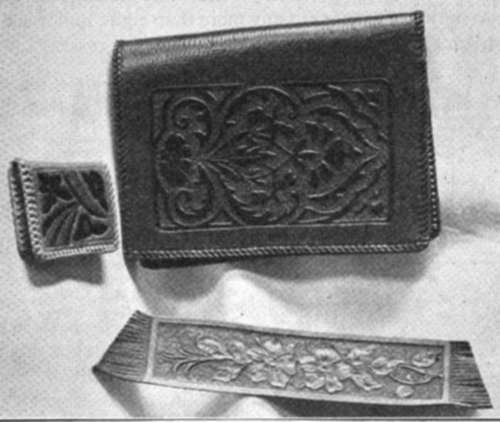
Some Tooled Leather Articles - a wallet, a book cover, and a book mark beautifully designed.
This handsomely carved, stamped, and tooled waste basket is a project for the advanced leather craftsman.

The stamping should be done on a hard surface, such as a marble slab, a piece of plate glass, or a smooth concrete surface. The stamping is done by placing the stamp in the proper place on the leather and hitting it several times lightly with a wooden mallet or block. The stamp should be hit the same number of times and with the same strength each time. The leather should not be cut, but stamped clearly. It is well to practice on some scrap leather first before trying to stamp a project, so that good leather will not be wasted.
Before stamping a leather project, one should carefully plan the whole scheme of design. Figure out how each stamp is to fit into the general pattern. Once the leather is stamped there is no way of erasing it satisfactorily. Usually it is well to line the leather, about an eighth of an inch in from the edge, with a pair of steel dividers before doing any actual stamping. The lining makes an even margin up to which the stamping can be done.

These border designs may help you to plan original designs for your projects.
Continue to:
My Books

