Necktie Rack
Description
This section is from the book "Shop Projects Based On Community Problems", by Myron G. Burton. Also available from Amazon: Shop Projects Based on Community Problems.
Necktie Rack
Materials
Basswood (Chap. III., Par.
31).
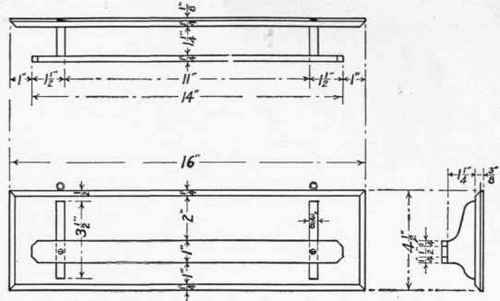
1 pc. 3/8"x4 3/4"xl6 1/2" S 2 S
Back. 1 pc. 3/8"xl 1/2"x 8" S 2 S
1 pc. 1/4"xl 1/4"xl41/2" S 2 S
Cross rod. 2-3/4" No. 6 R. H. brass screws.
2 screw eyes, No. 114. 6-1" brads, No. 17.
Introductory Statement
It is a very great convenience to keep the things of daily use where they can be had without any loss of time or patience. Successful business men say that the boy who learns to be careful and orderly in his daily habits has learned the greatest secret of business success.
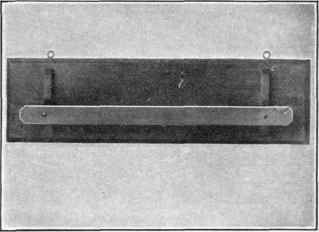
While the necktie rack provides a handy place for one's ties, so they can always be found when wanted, it also helps to keep the ties smooth, free from wrinkles and in good condition for wear.
Do not forget that the value of this article, like most all conveniences, depends upon what use you make of it. Try to make it so perfectly that in appearance as well as in service it will be an attractive article for your room.
References:
Handicraft for Handy Boys, Hall. Lathrop, Lee & Shepard Co., Boston. Boys' Make at Home Things, Bailey. Frederick A. Stokes, Pub. The Boy Craftsman, A. Neely Hall. Lathrop, Lee & Shepard Co., Boston. Trees That Every Child Should Know, Rogers. Doubleday, Page & Co.
Necktie Rack
Suggestions For Original Design
No.1
No.2
No.3
No.4
Necktie Rack Specifications
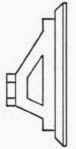
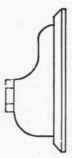
The Back
The piece 3/8"x4 3/4"xl6 l/2" is for the back of your necktie rack. It is furnished S 2 S, so it will not be necessary for you to plane your surface; however, you can sandpaper it to make it perfectly smooth and clean (Chapter II., Paragraph 17). If you have made an original design for the back you should lay out your design on this board and then cut it out. If you are following the drawing given, first plane one edge of the board perfectly straight and square for a working edge (Chapter II., Paragraph 4). Square one end, plane it perfectly smooth with the block plane (Chapter II., Paragraph 5). Measure the length which the back is to be; square off this end and plane smooth with a block plane. Gauge the width and plane to the gauge line (Chapter II., Paragraph 6). With your lead pencil and ruler, or pencil and finger, gauge a pencil line all around the edges for the chamfer (Chapter II., Paragraph 7-8).
Continue to:
My Books

